
Is Java not available on your Windows computer yet?
No problem, let’s use an installer to make the process really easy.
Download and Install Java on Windows
This is a direct link to get the Azul Zulu build of OpenJDK distribution, version 25, as a Windows installer:
https://cdn.azul.com/zulu/bin/zulu25.34.17-ca-jdk25.0.3-win_x64.msi
Many more distributions and versions of Java exist. You can read more info here on how to find another distribution or version.
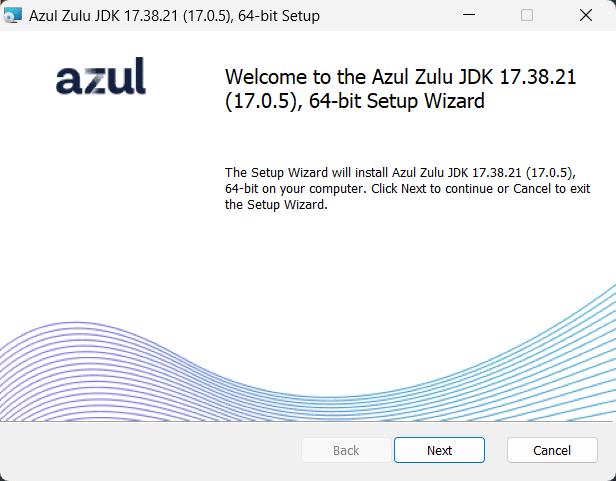
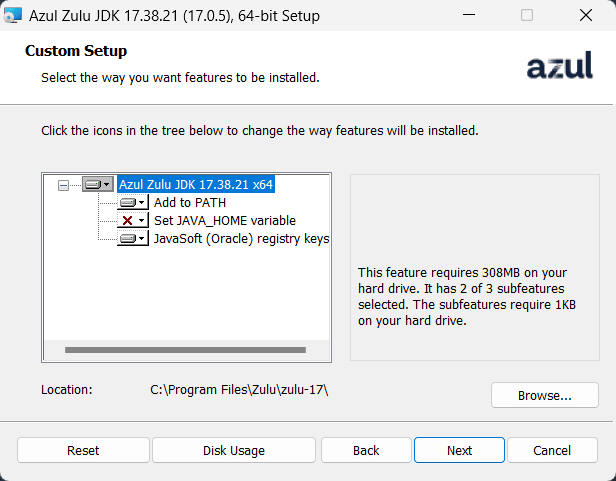
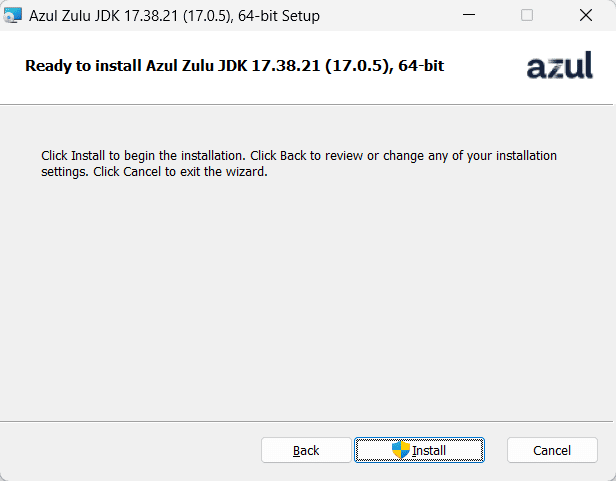
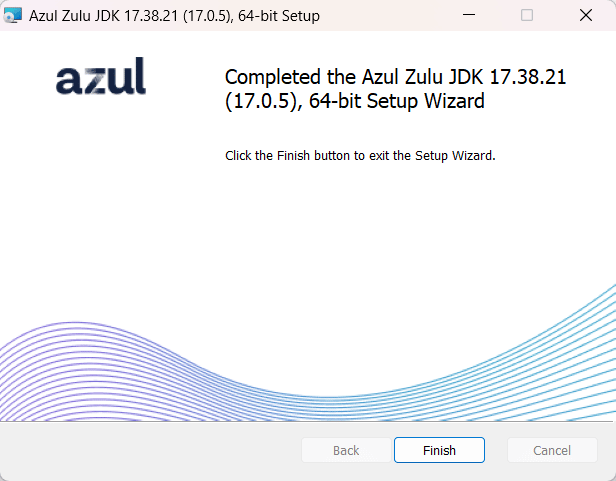
Once the .msi file has completed downloading, double-click it, and follow the instructions.
Validate the Java Installation
After the installation has been completed, you can check the installed version by opening a terminal (click Start, type cmd, and hit Enter) and running the java -version command.
You should get the a result like this, with the version info depending on the one you installed.
Microsoft Windows [Version 10.0.22621.963]
(c) Microsoft Corporation. All rights reserved.

C:\Windows\System32> java -version
openjdk version "21.0.2" 2024-01-16 LTS
OpenJDK Runtime Environment Zulu21.32+17-CA (build 21.0.2+13-LTS)
OpenJDK 64-Bit Server VM Zulu21.32+17-CA (build 21.0.2+13-LTS, mixed mode, sharing)

C:\Windows\System32>
That’s it. You’re now ready to run Java programs and, even better… create your own!
Found a mistake, or something to add? Edit this page on GitHub